The Pros and Cons of Astroturf vs. Real Grass

Choosing between astroturf and real grass isn’t about which option is objectively better — it’s about which one fits how your yard gets used and how much maintenance you’re willing to take on. Both can look great and perform well when installed correctly. The difference comes down to priorities. Why Homeowners Compare Astroturf and Real Grass More homeowners are weighing this decision than ever before. Rising water costs, busy schedules, and increasing demand for outdoor living spaces have all pushed fake grass into the mainstream conversation. At the same time, natural grass remains a strong contender — especially for families who value a living, cooling, organic lawn. The decision usually comes down to four factors: aesthetics, maintenance, water use, and durability. What People Usually Mean by Astroturf vs. Fake Grass “Astroturf” is actually a brand name — like Kleenex for tissues — but most homeowners use it as a generic term for any synthetic lawn surface. Fake grass, artificial grass, synthetic turf, and artificial turf all refer to the same product category: a manufactured ground cover designed to look and feel like natural grass. For this article, astroturf and fake grass are used interchangeably the way most consumers use them. Why Real Grass Is Still a Strong Option Natural grass has real advantages that synthetic products can’t fully replicate. It stays cooler underfoot, absorbs rainfall naturally, and provides a soft, living texture that many homeowners — and kids — simply prefer. For yards that don’t receive heavy, concentrated traffic, a healthy natural lawn is hard to beat aesthetically and environmentally. Cost Comparison: Upfront Price vs. Long-Term Expense The Upfront Cost of Installing Astroturf Synthetic turf is a significant upfront investment. Between materials, base preparation (crushed rock, weed barrier, edging), and professional installation, most homeowners pay $8–$20 per square foot installed, depending on turf quality and yard complexity. A 500-square-foot backyard can run $4,000–$10,000 before any landscaping around it. The Ongoing Cost of Maintaining Real Grass Natural grass costs less to install — seeding runs roughly $0.10–$0.20 per square foot, sod $1–$2 per square foot — but the ongoing costs add up. Annual maintenance typically includes: Mowing (DIY time or lawn service: $100–$250/month) Irrigation (water bills can increase $30–$80/month in summer) Fertilizing and weed control ($200–$500/year) Aeration, overseeding, and lawn treatments ($150–$400/year) Which Option Offers Better Long-Term Value The break-even point for synthetic turf typically falls at 8–12 years, depending on water costs, maintenance spending, and turf quality. For homeowners in dry climates, high-traffic yards, or properties with irrigation challenges, fake grass often pays off. For those who enjoy lawn care and have manageable water costs, real grass remains the more economical choice. Cost Comparison at a Glance Factor Astroturf / Fake Grass Real Grass Installation cost $8–$20/sq ft $1–$2/sq ft (sod) Annual maintenance cost $200–$500 $600–$1,500+ Repair cost $500–$2,000 (patch replacement) $50–$300 (reseed/resod) Lifespan 15–25 years Indefinite with care Water use Near zero High (summer irrigation) Maintenance: Which Lawn Is Easier to Care For? What Fake Grass Maintenance Actually Involves Synthetic turf isn’t zero maintenance — it’s low maintenance. Routine tasks include: Brushing fibers upright with a stiff broom (a few times per year) Rinsing to remove dust, pollen, and debris Debris removal — leaves and organic matter sit on top rather than decomposing into soil Pet cleanup — urine drains through, but the surface needs regular rinsing and occasional deodorizing treatment Infill replenishment — the sand or rubber infill that gives turf its cushion may need topping up every few years What Real Grass Maintenance Typically Includes Natural lawn care is ongoing and seasonal: Mowing every 1–2 weeks during the growing season Edging along borders and hardscape Watering 1–2 inches per week in dry months Weed control throughout the growing season Seasonal fertilizing, aerating, and overseeding thin areas Which Option Is Better for a Low-Maintenance Lifestyle If you travel frequently, have a busy household, or simply don’t want to think about your lawn every week, fake grass dramatically reduces the time commitment. If you enjoy weekend yard work and want to stay active in maintaining your outdoor space, real grass is a manageable and rewarding choice. Appearance and Feel: Which One Looks Better? The Visual Strengths of Modern Fake Grass Today’s synthetic turf products are a significant step forward from the flat, plasticky grass of older generations. Quality products feature multi-tone blade colors, varied textures, thatch layers, and realistic-looking wear patterns. The result is a lawn that looks consistently tidy, deep green, and well-maintained year-round — regardless of weather, traffic, or season. The Natural Look and Softness of Real Grass Natural grass has a living quality that no synthetic product fully replaces. Blades move in the wind, vary naturally in shade and texture, and feel soft and cool underfoot on a warm day. Many homeowners describe it as more inviting — there’s a sensory element to real grass, from the feel underfoot to the smell after mowing, that artificial turf simply doesn’t deliver. How Usage and Weather Affect Appearance Over Time Real grass develops wear paths, patchiness, and bare spots in high-traffic zones. Synthetic turf holds its color and coverage better under traffic but can show matting or flattening in heavily used areas. In heat, fake grass can look fine but feel very different — surface temperatures can climb significantly higher than surrounding air temperature. Appearance Scoring Factor Astroturf / Fake Grass Real Grass Consistency ⭐⭐⭐⭐⭐ ⭐⭐⭐ Natural look ⭐⭐⭐ ⭐⭐⭐⭐⭐ Softness underfoot ⭐⭐⭐ ⭐⭐⭐⭐⭐ Seasonal change None (stays green) Significant (browning, dormancy) After heavy use Mild matting Bare patches Durability and Performance in Everyday Use Best Choice for High-Traffic Backyards Fake grass handles concentrated traffic better. Real grass — especially in shaded areas or clay-heavy soils — wears thin quickly in heavily used zones like play areas, goal mouths, or paths between structures. Synthetic turf holds up without bare spots, discoloration, or mud. Best Choice for Pets and Play Areas For dogs, fake grass offers some advantages: no digging up bare patches, no mud tracked indoors, and
What to Know Before Buying Perennials for Your Landscape
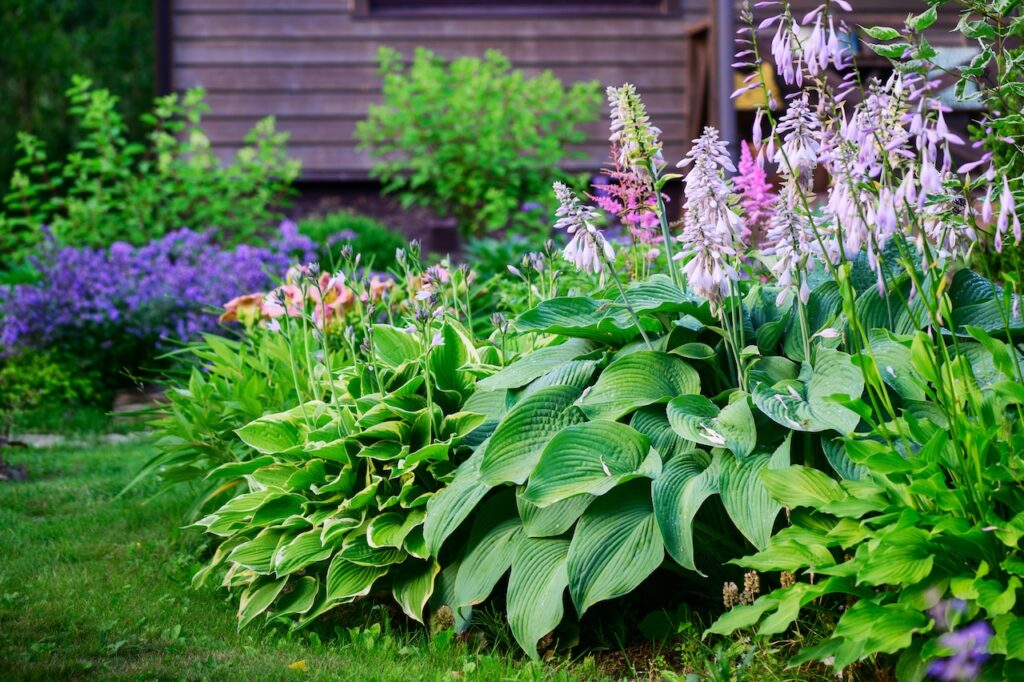
Choosing the right perennials isn’t just about color—it’s about matching plants to your climate, soil, and maintenance goals. This guide breaks down how to create a landscape that blooms from spring through fall while minimizing water use, deer damage, and replanting. Learn how to layer bloom cycles, select drought-tolerant plants for Southern Oregon, and design planting beds that work seamlessly with turf or artificial grass.
Top 10 Mistakes to Avoid When Mulching A Garden
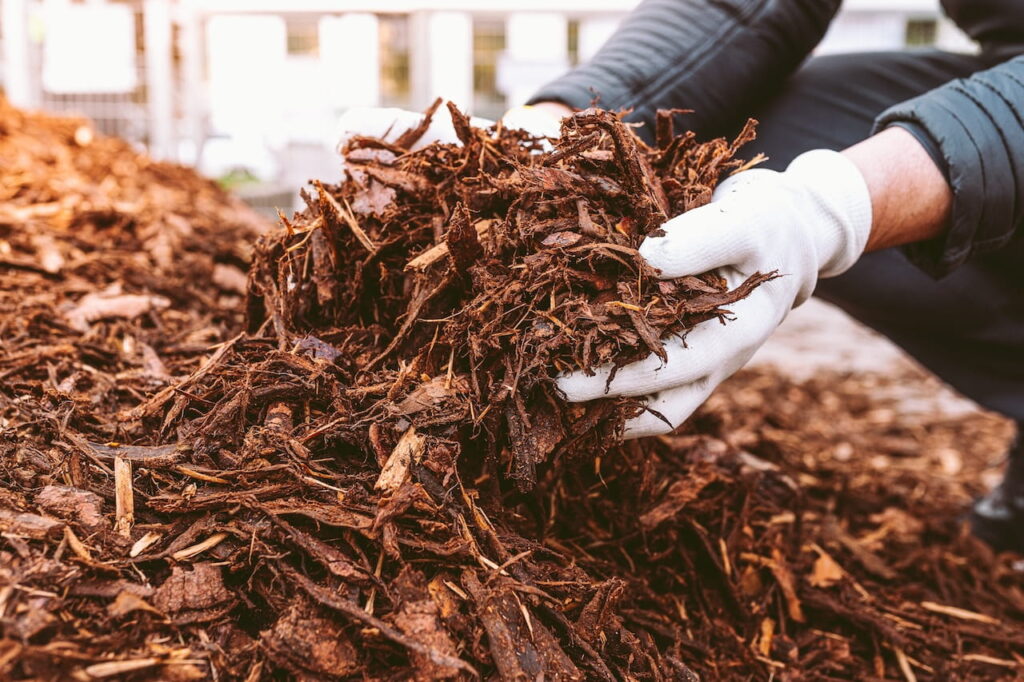
Mulching improves soil health, moisture retention, and weed control, but common mistakes can damage plants and waste time. Learn how to mulch correctly, choose the right materials, and support healthier garden beds in Southern Oregon.
How to Prepare Your Landscape for Wildfire Season in Southern Oregon
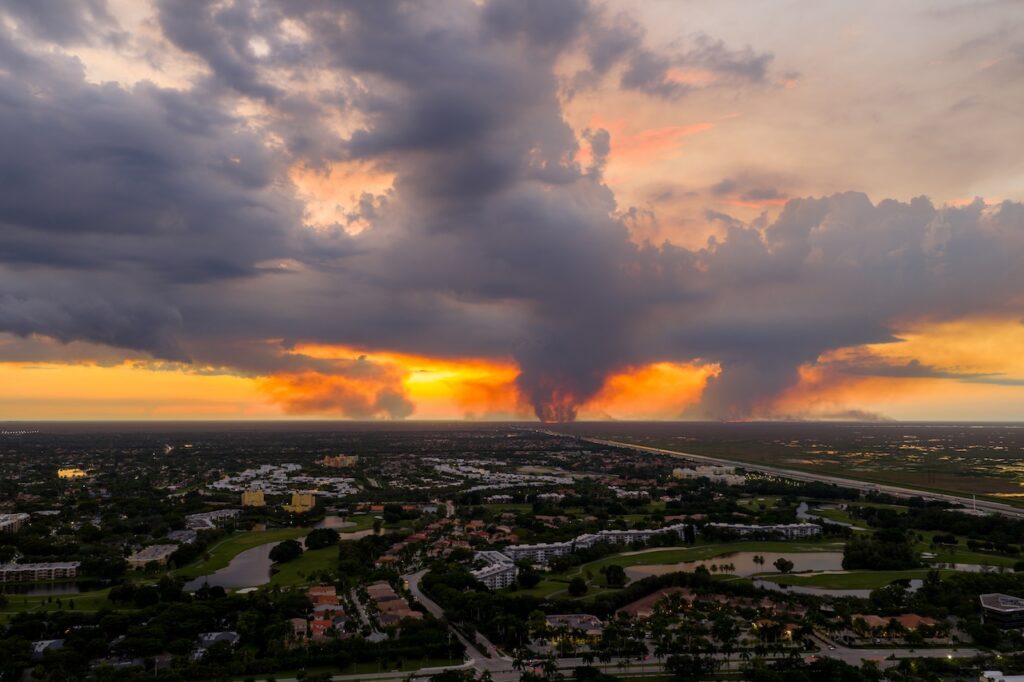
Wildfire season in Southern Oregon requires proactive landscaping strategies. Learn how defensible space, fire-resistant plants, hardscaping, and routine maintenance can reduce wildfire risk and help protect your home.
Shade Flowers & Annuals: What Homeowners Should Know for Pest-Smart Yards
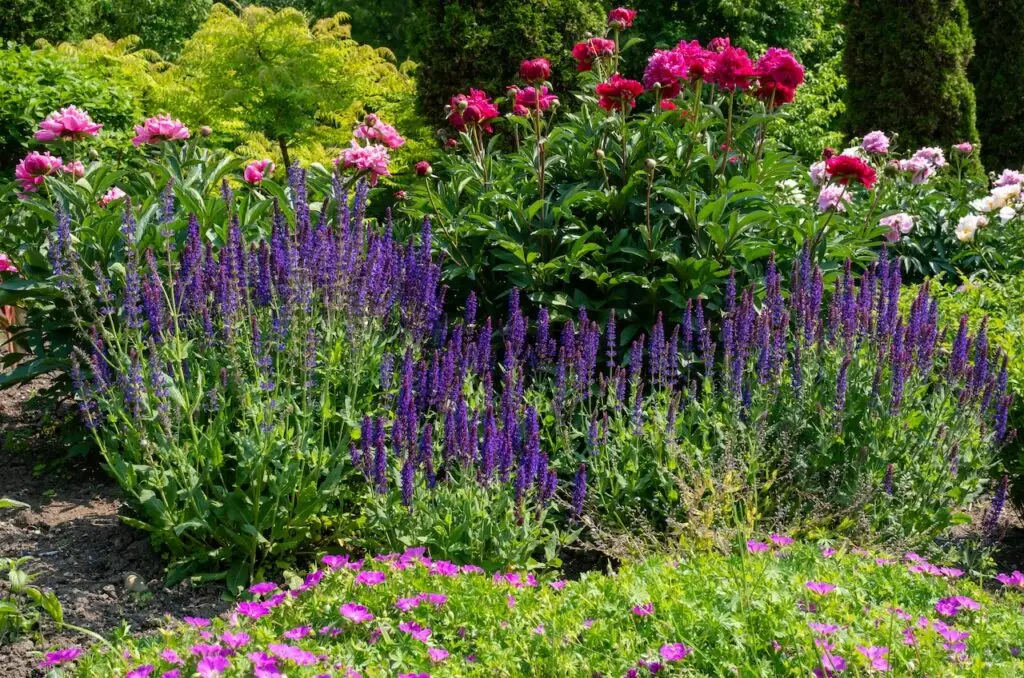
Transform your shady yard into a pest-smart oasis using a blend of shade annuals, corten steel barriers, and moss groundcover. This guide shows how thoughtful design choices and plant pairings can naturally reduce slugs, gnats, aphids, and rodents—without relying on harsh chemical treatments. Whether you’re starting small or going all in, integrated pest management landscaping creates a healthier, low-maintenance yard that works with nature.
How to Design a Fire Pit Area in Your Backyard
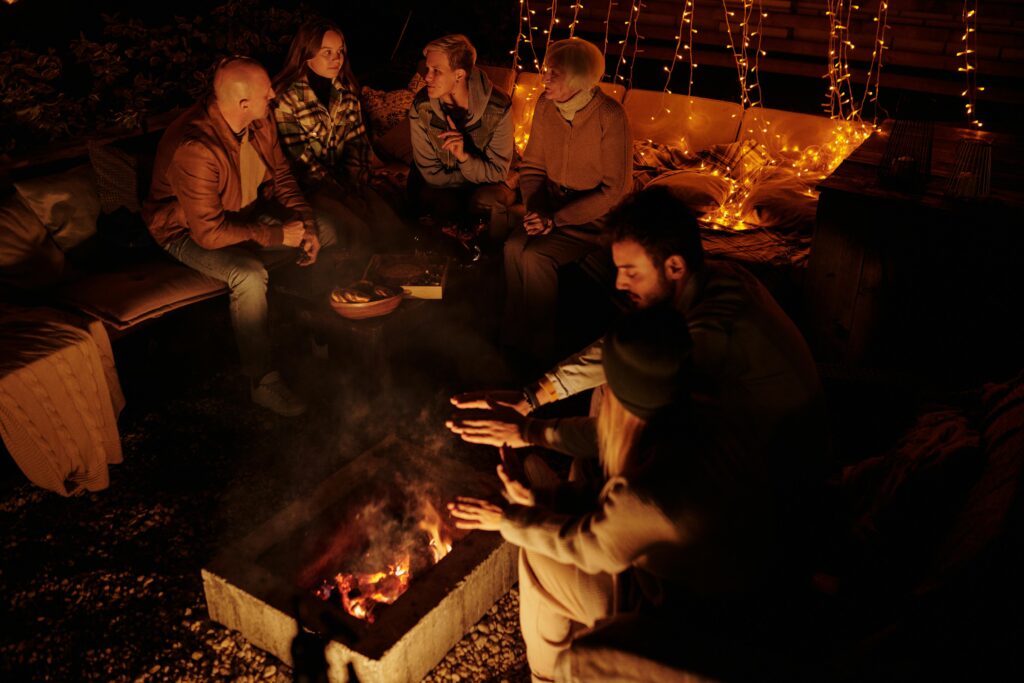
A well-designed fire pit transforms your backyard into a gathering space that extends your living area, creates year-round entertainment opportunities, and adds measurable value to your home. Whether you envision cozy family nights roasting marshmallows or hosting weekend gatherings with friends, the right design balances safety, comfort, and style. This guide walks you through every decision—from site selection and patio construction to hardscaping materials, seating arrangements, pathways, lighting, and using retaining walls to reclaim sloped yards. Start with a Plan: Purpose, Budget, and Style Before breaking ground, clarify what you want from your fire pit area. A clear vision saves money, prevents scope creep, and ensures the finished space actually works for how you live. How You’ll Use the Space Think about typical use cases. Will this be an intimate gathering spot for four people, or do you need seating for a dozen guests? Are you focused on ambiance, or do you want cooking capabilities with a rotisserie or grill grate? Consider whether the fire pit will stand alone or integrate with a built-in grill or outdoor kitchen to create a true outdoor hub. Answering these questions upfront shapes everything from pit size to seating layout and material budgets. Set a Realistic Budget Fire pit projects range from $2,000 DIY kits to $20,000+ custom masonry installations with integrated seating and lighting. Know where to save and where to splurge: Invest in proper base prep and drainage. Cutting corners here leads to settling and cracking. Choose hardscape materials that fit your budget without sacrificing durability Decide whether gas line installation is worth the convenience Plan for quality lighting that enhances safety and ambiance Budget separately for furniture and accessories. Read More: How to Build a Low-Maintenance Landscape Choose a “Design Language” Your fire pit should feel like a natural extension of your home’s architecture and existing hardscape. Decide on shapes—round pits create intimate, campfire-style gatherings; square and rectangular designs offer clean, modern lines and easier furniture placement. Consider edge treatments like flush-cut pavers for contemporary looks or stacked stone for rustic charm. Select materials that complement your home’s exterior: natural flagstone for organic, mountain-home aesthetics; smooth concrete pavers for modern farmhouse or minimalist styles; aged brick or tumbled stone for traditional or cottage gardens. Safety, Codes & Siting (Don’t Skip!) Safety planning comes first, before you fall in love with a particular design or location. Getting this right protects your family, your home, and your investment. Clearances & Placement Typical safety guidelines recommend keeping fire pits at least 10 to 20 feet from structures, overhangs, and property lines. Check prevailing wind direction—you don’t want smoke blowing into your house or neighbor’s windows. Avoid low spots where water pools and steep slopes that create unstable seating. Keep adequate distance from trees and overhanging branches, especially with wood-burning pits that throw sparks. Check Local Rules Regulations vary widely by municipality and neighborhood. Call your local building department to ask about permits, open-flame restrictions, and whether wood-burning pits are allowed year-round or subject to seasonal burn bans. Some areas mandate gas-only fire features or require spark arrestors on wood-burning models. HOAs often have additional restrictions on size, placement, and fuel type. Fire Pit Types Wood-burning pits deliver the classic campfire experience—crackling sounds, authentic smell, and radiant heat. They require spark management with screens or glass panels, regular ash removal, and dry wood storage. Gas fire pits (natural gas or propane) offer instant on-off control, no ash or smoke, and consistent flame height. They require professional gas line installation, proper ventilation around burners, and hidden tank enclosures for propane models. Gas pits cost more upfront but deliver convenience and cleaner operation. Safety Checklist Typical Clearance Pit to structure/overhang 10–20 feet minimum Seating distance from flame 3–4 feet for comfort Overhead clearance 21 feet (wood); 10 feet (gas) Gas shutoff access Within 10 feet, clearly marked Not sure what’s allowed? M & B Landscaping designs to code and handles professional installation through our comprehensive hardscaping services. Base & Surface: Patio Construction that Lasts The foundation determines whether your fire pit area stays level and beautiful or cracks, settles, and puddles after the first winter. Proper patio construction isn’t optional—it’s the difference between a decade of enjoyment and expensive repairs. Sub-Base & Drainage Start with excavation to remove organic material and unstable soil. Install a compacted gravel base, typically 4 to 6 inches of crushed rock, in lifts with plate compaction between layers. On clay or poorly draining soils, lay geotextile fabric before adding base rock to prevent mixing and settling. Grade the entire area with a 2% slope away from structures to shed water. Never place fire pits in low spots where runoff collects. Surface Options Pavers: Modular concrete or clay pavers offer easy repairs, wide color choices, and good drainage through joints. They work well for both traditional and modern fire pit designs. Flagstone: Irregular natural stone creates an organic, high-end look. Flagstone requires skilled installation to maintain level surfaces and proper joint spacing. Concrete: Poured or stamped concrete delivers clean lines and seamless surfaces. It’s durable and low-maintenance but can crack without proper control joints. Decomposed Granite (DG): Permeable, budget-friendly, and easy to install. DG works for casual, natural designs but requires edge restraints and occasional replenishment. Read More: How to Choose Between Concrete or Patio Pavers Edge Restraints & Jointing Lock surfaces in place with plastic edge restraint (for pavers), steel edging (for DG or gravel), or mortar collars (for flagstone). Fill paver joints with polymeric sand that hardens when wet, or use traditional mortar for permanent, weed-free joints. Build the platform right: M & B constructs durable patios with proper drainage and material selection. Explore our full project delivery through hardscaping services. Surface Type Maintenance Cost Tier Best For Concrete Pavers Low; occasional sand refill $$ Versatile, repairable Flagstone Medium; reseal every 2–3 years $$$ High-end, natural look Poured Concrete Low; seal cracks promptly $$ Modern, clean lines Decomposed Granite Medium; rake & top-dress yearly $ Casual, permeable Fire Pit Construction: